This week started with hanging the rest of the collage drawings, cleaning the inside of the windows and putting up a poster or two in the window.

Window View Monday 8th April
There are 30 drawings up now and five sculptures counting the Snow Line piece which is very much in progress. I’ve adopted a deliberately temporary aesthetic and named the show as work in progress. The back gate was open again this morning, I’m told the place is used by addicts who must climb the gates to get in at night. So far they haven’t managed to get into the shop although I have been told that they have broken in before. Fingers crossed I don’t lose anything I can’t afford to replace.

Three Collage Drawings by the door
These three drawings are right inside the door.
The shop does tend to get the sun straight onto the front window through the afternoon which means you can’t see much from outside. The last thing I did today, Monday, was put a coat of paint on Snow Line.

Snow Line white coat
Midweek I tweeted that the ‘shop’ was open for people to come and visit. Needless to say I’ve had no visitors since! never mind. I worked on ‘snow line’ on Wednesday.

snow line clockwise compass points
I’m three quarters of the way to being happy with it, it needs something on the underside, I’m thinking blue(?). I’m also unhappy with the top section and the cloth gathering at the top, Not sure why yet. The piece demands to be left alone in its unfinished state until it tells me what to do. That could be anything from tearing the top section out and rebuilding to completely dismantling the piece and starting again. It could also be that this piece is not ‘snow line’ at all, it does seem to be a development of the ‘Ptolemy’s Garden’ set and might decide that it sits there more comfortably.
The best way to leave a piece alone is to work on something else, so I put together the first of the screen pieces that I built maquettes for upstairs. Cleaning, fixing and sanding took the rest of Wednesday and it should be dry enough to paint on Friday.

Screen cleaned and sanded
Friday 12th April – People are reluctant to come into the shop, which is just as well as far as work is concerned and keeping the door locked doesn’t necessarily encourage them. I do have a bell and a helpful sign pointing to it, it’s by the door handle. It does allow me to work uninterrupted though, so that’s a bonus. I ran into another Doncaster artist on Wednesday who has a studio in the corn exchange who told me that it was an OK space but people did keep coming around and disturbing him for no particular reason.
I put two coats of paint on the first screen, it now looks like this.

Screen with two coats of white
The plastic finish makes the paint difficult to apply, hence the sanding, so it might need another coat. It has an interesting surface as it is though so we’ll see on Monday whether it needs another coat.
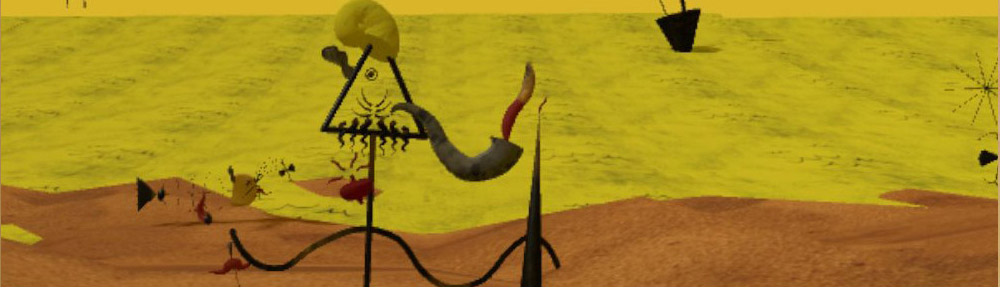
Between coats I worked on the big drawing.

drawing early Friday
Initially adding the branches and foliage to the left, then filling in some of the background.

drawing later Friday
I don’t know if it’s finished, it may end up as the base for several smaller drawings or another big one. The additions were made with charcoal, oilstick and grey pastel.
The last thing I did this week was add the blue I talked about on the underside of snow line.
I like the look of the gallery space at the moment, some shots below.

Gallery 12 04 2019

Gallery 12 04 2019

Gallery 12 04 2019


